Following up on the earlier discussion of the BE Meyers 40th Anniversary video, this entry will be more of a technical breakdown of a key effects sequence involving a rather large machine gun, dolly, multiple passes, and a little bit of hair pulling.
7 Second Storytelling
BE Meyers not only builds their own products, but helps supply warfighters with products that enhance existing weapon systems, which then help integrate their own laser products, increasing lethality and survivability. Early on in the planning stages we paid special attention to one key product, which was a chassis system for the venerable M2 .50cal machine gun, affectionately known as ‘Ma Deuce.’ Generally in the planning phases we scale our visual storytelling to the requirements of the client, this sometimes tends to keep things conservative, especially when on a narrower budget. However when we sat down to scope what was possible for the anniversary video, and we laid all the possible product stories out, we were struck by the key visual of the M2 in all its built up glory.
Typically as someone involved in planning, production, and post-production I tend to err on the side of restraint when proposing complicated visual sequences. However putting myself in the shoes of the audience I knew that seeing something as modular as the M2, built up, in motion rather than a static build (or a CAD/CAM build), would instantly become memorable, and a wonderfully challenging visual high watermark. So rather than this being a client request we proposed a sequence starting from the pintle mount, up through the chassis, gun itself, accessories, and optics, all while the camera was rotating around it.
However the challenges were these:
- Budget clearly did not allow for a MoCo (Motion Control) rig.
- The M2 is exceedingly long. Almost 6’ in length.
The first challenge was the main issue. A motion control rig would have made this effect a snap. However given that budget was limited it meant improvising and creating a human powered motion control rig as best as possible. The other was length of the object being filmed. The M2 is almost 6’ long, which meant that lighting the machine gun would be a challenge as well as controlling focus.

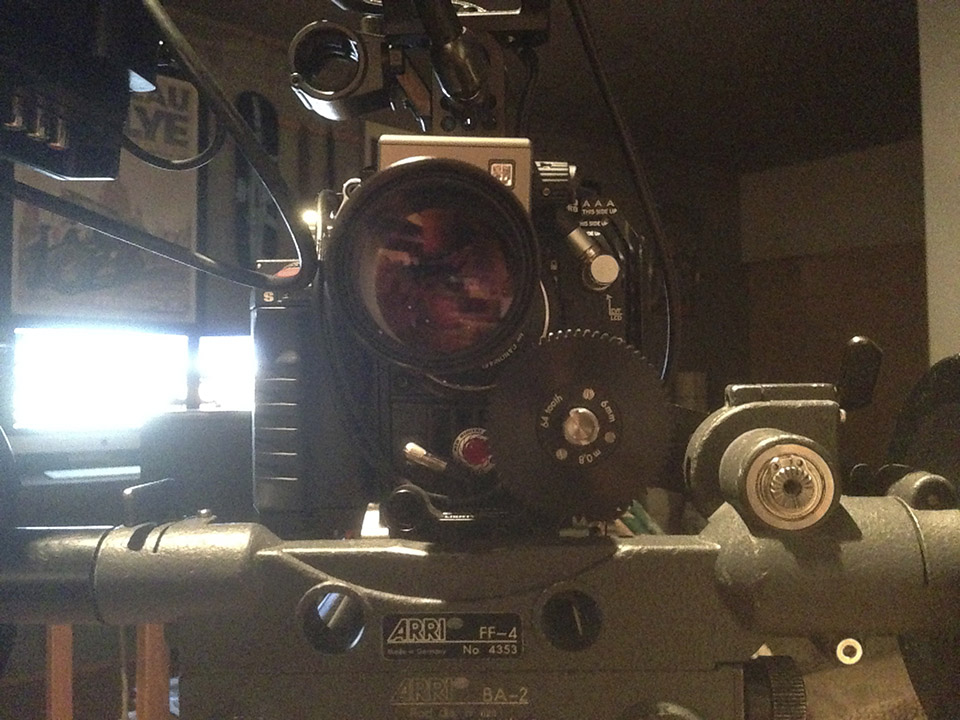
Tylor Jones prepares the camera to rotate around the M2.
The solution we settled on was to utilize our Fisher 10 dolly, which would be used for the majority of the corporate location filming, on a 360 length of track. We would then push the camera around each stage of the gun, with 2-3 passes per stage to allow for coverage in case of a camera issue. We would start with the machine gun fully built up, as it would reduce the chance of the gun being bumped or changed in position as little as possible. After each pass a stage would be removed, another 2-3 revolutions filmed, remove another stage, rinse and repeat. Each pass could not be any shorter in length than the pass before it, so using a simple timer app on a phone we were cautious to count out each step, and focus on smoothness of motion, erring on the side of being too slow than too fast.
Because this would be a complicated effect for so little on screen time, it meant that we had to slot in all of our lighting and camera prep while still trying to juggle A-roll interviews. This meant that this B-roll effect was severely under the gun (pardon the pun) to get right, and get done, in a time faster than normally allowed. In addition we were also limited on track diameter, as to complete a 360-degree revolution meant using a smaller track, which limited us on lens choices. This goes back to problem number 2, which is that the object in camera was incredibly long, but would drift out of focus given available light, which limited our depth of field. Ultimately given the restriction on time, and how many lights we could use, it meant being more than a few T-Stops less than where you'd want to be given how ginormously long the M2 is in camera.
The one key thing that a lack of time didn’t allow us to accomplish was to bust out the rulers, lasers, and bubble levels, to optically true up the camera, dolly/track, and machine gun. Another deficiency was in properly leveling up the track to reduce or remove any low or high spots during the rotation. The end result is lovely looking footage, but one where the camera and gun were moving eccentrically to each other. Clearly this wouldn’t work for the final effect. See example below, particularly take note of the shake, and rises/dips in frame:
Original source footage. No stabilization.
How to solve this? Given that each pass would be give or take 55 seconds in length, with 6 individual passes, there was only one solution…basically a lot of key frames. No stabilization tool would be able to make sense out of a long object during a 360-degree rotation moving eccentrically. It essentially would have warp-stabilized the M2 into looking like a bow tie. The most direct solution would be the most time consuming, which would be to take the one constant, in the form of the pintle mount, and using that as our optically true center point. By essentially throwing a pair of vertical guides, and going through roughly 1350 key frames (per pass) the M2 would rotate smoothly during its entire turn. The same had to be done horizontally, due to the aforementioned dips in the dolly track. All in all this amounted to just a little over 8100 key frames. Due to each pass and the resulting key frames you could essentially see that the camera was making a figure 8 as it moved down and around, whereas it should have been a single point.

Each pass had to be frame stabilized to avoid the M2 dipping or shifting.
Once this was accomplished for each pass all 6 passes were overlaid and transition points determined. I knew I didn’t want to have jump cut transitions, but rather I wanted seamless crossfades. This meant avoiding any visual ‘tells’ such as a tension crank that may have moved during installation/removal, ammo belt shifting, etc. After these 5 transition points were determined, the entire sequence was then sped up to a crisp 7 seconds. We didn’t want to make too big a deal out of this effects sequence, enough so as to let the viewer appreciate the effect, but not do an effect for an effects sake that overstayed its welcome.

Rigging lights and gun.
Because we wanted to use this sequence to illustrate all the products that BE Meyers either supplies, or creates, we then overlaid product name call outs and product numbers, all tracked to the camera, so that 3D type would follow each component.

3D Product Names and Part Numbers overlaid.
Overall I’m incredibly happy with the end result, especially given the time and technical limitations. It was also a firm reminder that even 15-30 minutes during production to measure twice, and cut once can alleviate postproduction time by a factor of 10-20x. Ultimately what we set out to do was to create an effect that could have been accomplished rather uninterestingly in a normally throw away line of A-roll, and some B-roll montage, but in a far more compelling visual manner. The end result was technically challenging, but something that was instantly recognizable for it’s addition to the overall piece’s production values, as well as the entire production team striving to raise the bar on what a corporate piece could be.