OffHollywood HotBox/Link + FoolControl Review by Isaac Marchionna

Discussing power distribution is a case study in the ability to scale and accommodate. If as an AC you’ve had to plug in a FIZ, microforce, multiple monitors, wireless transmitters, cine tapes, you’ll know how much of a wiring hell things can be before you even start routing power and signal cables. It’s a battle between the nature of the hand you’re dealt, and applying a heaping sense of obsessive compulsive disorder towards keeping things neat and tidy. Moreover it’s just about feeding power to every required widget on the camera. Sometimes these systems are nothing more than a power strip for your camera, and that’s okay. It does the job. But sometimes you get a lot more than that, in the case of OffHollywood’s offerings.

From the outset I’ll set the stage as stating I own a RED Epic Dragon, but when I AC I giggle uncontrollably when I get to work on the ARRI Alexa. And that stems from that camera having a well thought out power distribution system (integrated into the body no less) that works well for the majority of projects I’ve been involved in. Specifically the ARRI works well in that it brings power in through it’s DC port (for example via an Anton Bauer VLCX brick battery) while distributing power out via 2x 3-pin ports, and 1x 2-pin port. It also has a 5-pin TC (timecode) in, which we’ll discuss later on. In addition to that you can throw a V-mount or more commonly an AB mounted brick, which serves as a nice hot swap when you’re changing VCLXs throughout the day (on those days spent on a dolly).

So where does that leave us with the Epic? Well, for most people it means using either something like the Switronix Jetpack, or an AB P-Tap splitter. Both offer their own pros and cons. A splitter sucks. It does the job, but then you’re dealing with a clunky plastic power strip essentially, combined with annoying connectors. I know RED has stated from the outset it detests P-Taps, but the reality is if you rent gear, you’ll want to accommodate for both P-Tap and Lemo. Also there’s no fuse inside and if you blow one in your battery plate, that’s at least 10-15 minutes to remove it, swap it out (assuming you have a 2.5amp fuse lying around, which you should, because reasons), and then hope you don’t blow the fuse again. Or in the case of the switronix having the same issues with blowing a fuse, but then adding lemos without the ability to carry R/S commands. It’s also bulky and just…whatever.

Okay, so that out of the way, what does OH bring to the market? Simply put, it’s smart power distribution while also adding REDLINK controls, either integrated, or as it’s own module. And to talk about that integration without discussion of FoolControl would be a travesty. So lets work through this piece by piece; Hotbox, Hotlink, and FoolControl.

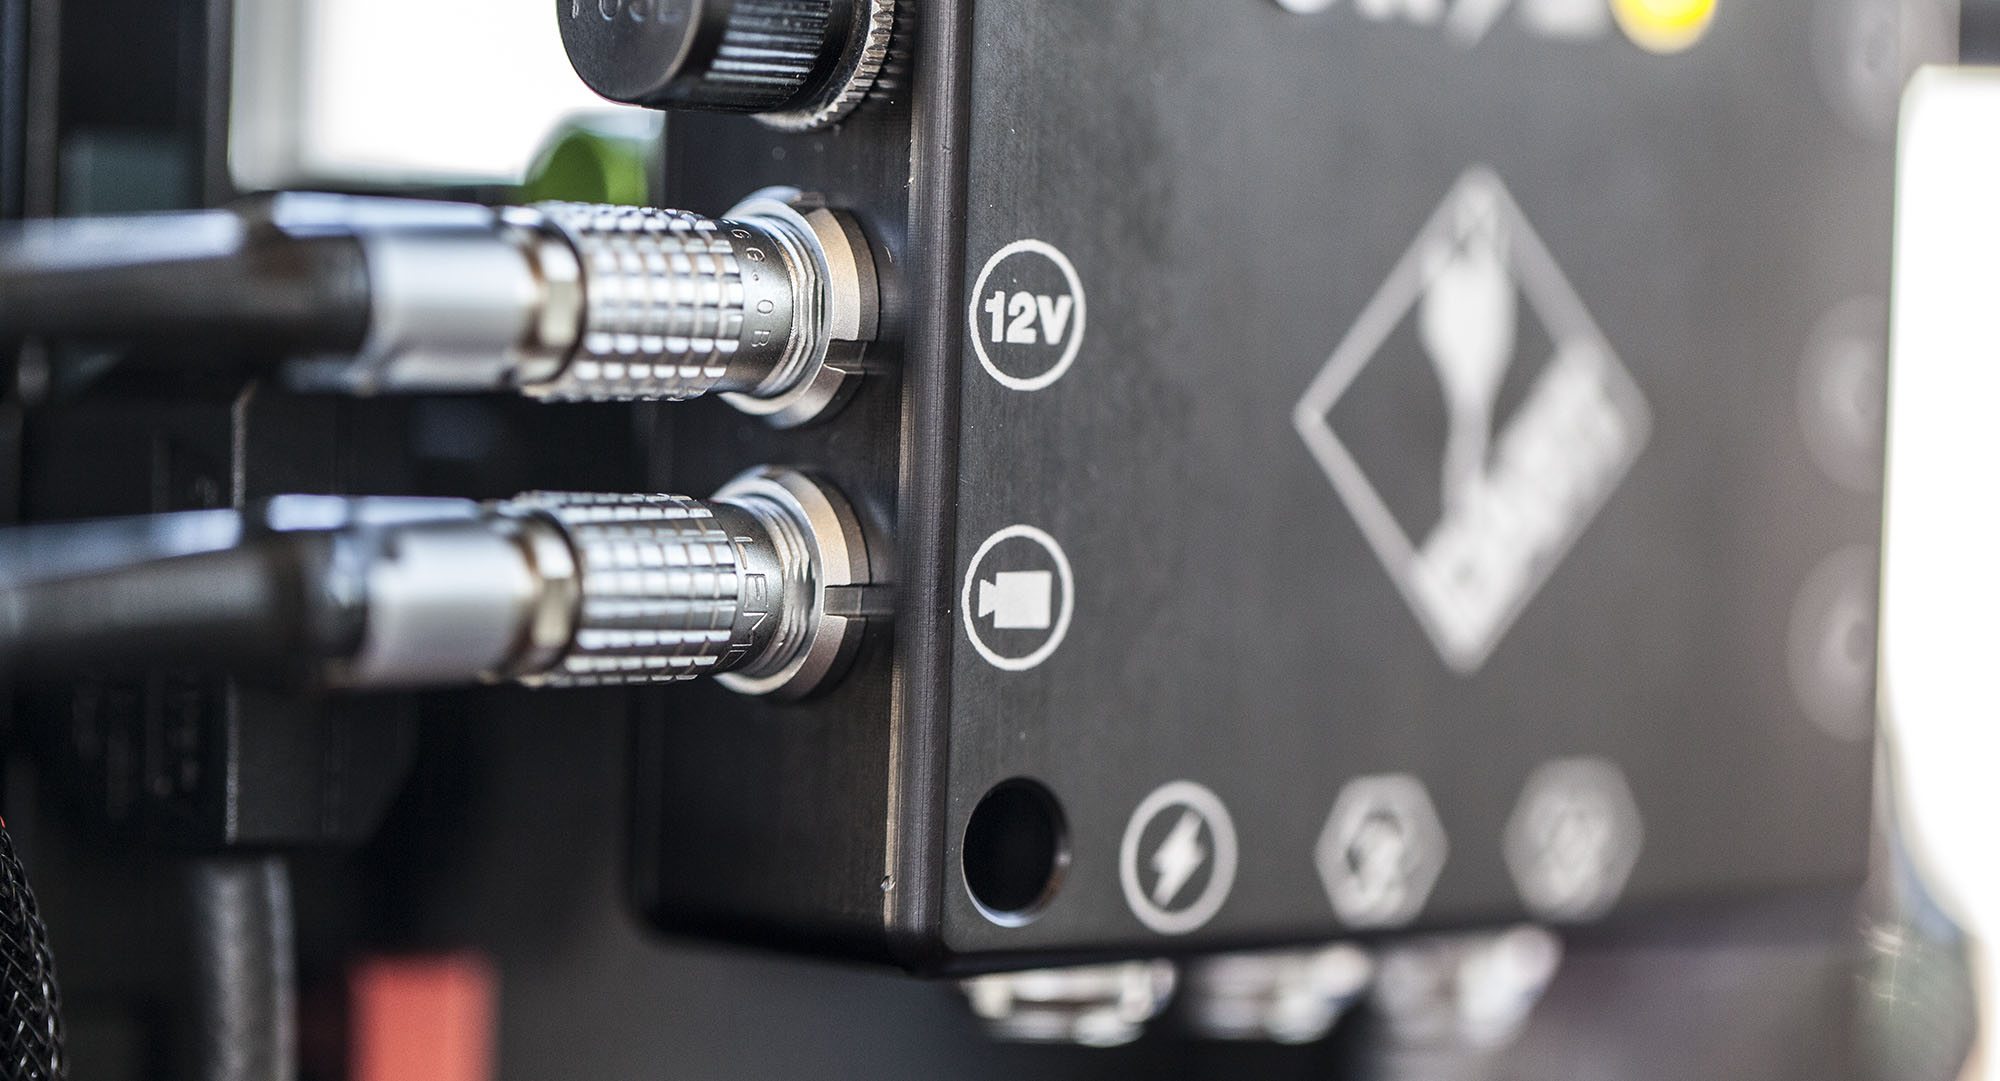
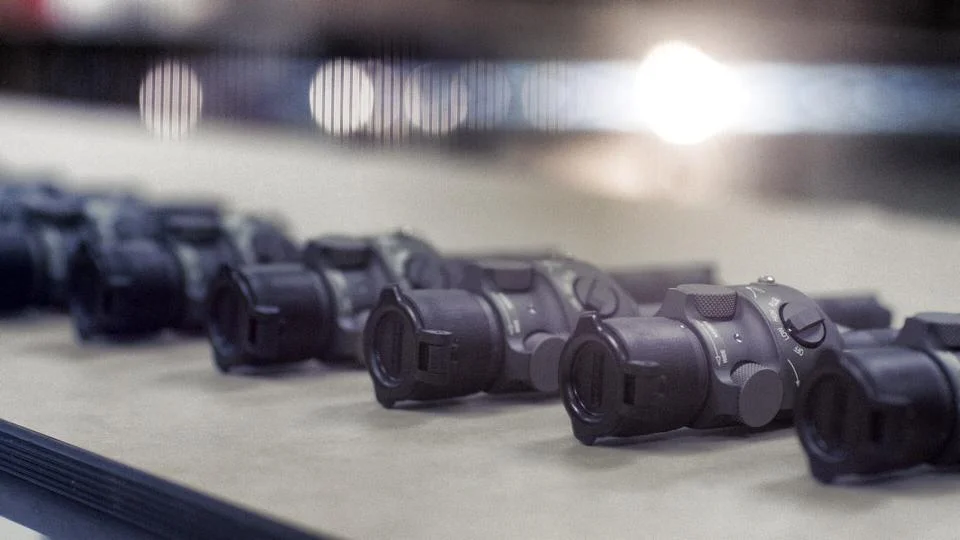
The HotBox measures roughly 75mm x 90mm x 25mm. So it’s not big at all, but it packs a punch, containing 4x P-Taps (if that’s your only option for cabling), 2x 2-Pin Lemos, 1x 4-Pin, and 1x 3-pin. In addition to that it has USB power output (charging your iPhone off your camera? stylishly practical), and 5-pin TC input. It has a 12v power input for supplying power to your accessories. This can be powered via a P-Tap to 2-pin Lemo connector (via a battery plate), or Lemo to 2-Pin cable of your choice. In the case of the RED Epic there’s a Y-cable that breaks out of the HotBox, carrying two signals, control and sync. Control taking care of all of the operations from RED Link or FoolControl, and sync passing all run/stop and timecode information.

Let’s stop and talk about timecode for a second. If you’ve had to jam, you know how painfully aggravating the RED sync bnc breakout cable is, either to install, or to leave hanging there in the case of connecting to a LockIt box. Because the HotBox is always passing sync and control data, you’re able to always have a standard 5-pin TC Lemo port at the ready. Much like how the ARRI Alexa works. But there’s an advantage to the HotBox over even the Alexa in this regard, because unlike the Alexa you don’t need to change over the RED’s internal TC to external to accept that signal. If your audio guy gives you a LockIt with a BNC-to-5 Pin cable you plug it in, and a second later you have TC. Nothing is required as far as changing settings. It’s slick, and your audio guys will love you, either if you have to stab in TC every now and then, or leave a LockIt on the camera consistently. It’s just seamless, and it’s one less thing to worry about, and that’s a good thing when you have multiple AKS hooked up to the camera.

The fact that the HotBox passes sync data, in addition to powering devices, becomes a critical advantage when running wireless follow focuses such as Preston Cinema Systems 1 or 3 channel setups. Prior to the hotbox you would be required to use a BNC cable, connected to the previously mentioned RED Sync cables. And THEN you’d hook up a P-Tap to Preston cable. Not the most elegant of solutions. Because the HotBox carries signal data (R/S) via it’s 3 or 4 pin power cables (indicated by the little icon of the Running Man) it means via one cable you can power the Preston and have R/S capability. The HotBox translates all signals via ARRI standard R/S, so keep that in mind if you’re using a system with the option of RED Epic specific start stop commands, as it should be set to ARRI to properly R/S. The net benefit is you have one less cable (or two in the case of the RED sync cable + your R/S Preston cable).

The HotBox has an quickly removable 2 amp fuse, in case you do manage to throw too much power hungry accessories at it. From experience I would be aware of your devices’ power draw, as some systems may consume more power than 2 amps during boot up. Mark (OffHollywood) and I discovered that the RED 3-Channel system (or Element Technica) pulls about 2.5 amps during it’s motor calibration. As such this means for my specific setup I’m using a 3 amp fuse to avoid blowing the system. But because the system has an internal fuse, and is quickly swappable, it means that you’re not going to face blowing the battery plate’s 2.5amp fuse. So you have one more layer of protection on set. I’ve timed myself and the whole swap takes about 30 seconds, depending on fat fingers or not. Fuses are about a dollar or less, have a few of them in your kit for peace of mind. Done.

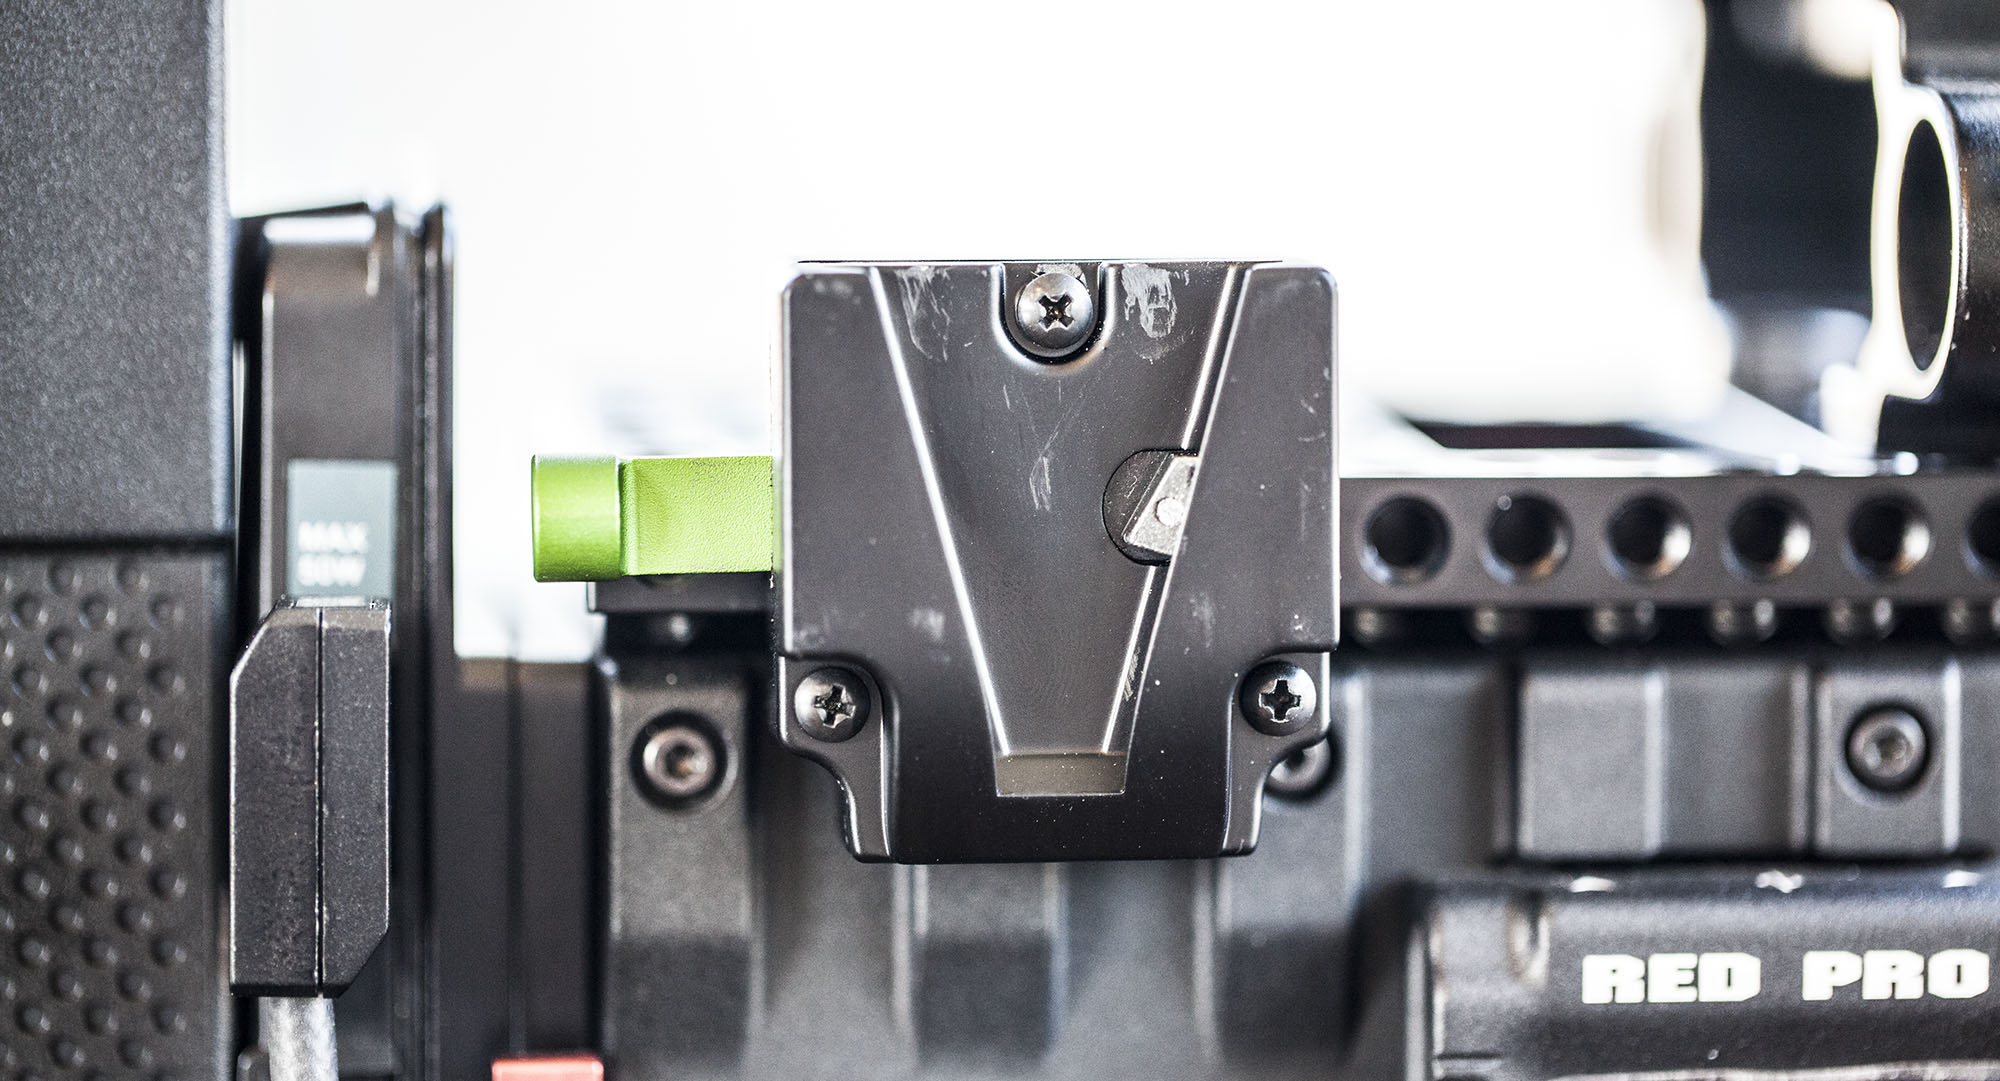
The system comes with a V-Mount male adapter, so it can be installed on 15/19mm clamps easily, or using something like a Element Technica V-Dock attached to a cheese plate. In addition there’s two pass-through holes on the bottom left and top right in case you want to use a set of long 1/4x20 screws. Really that’s about it in terms of layout. OffHollywood offers multiple power cables options for multiple devices (Mark’s cabling for the TVLogics is incredibly well made, and a huge step up above the OEM cables that are otherwise as thin as angel hair pasta). So really your only two challenges are figuring out where you want to mount the HotBox, and keeping a selection of cabling for your specific devices. However just having the hotbox, the power cable to drive it, and the RED DSMC cable to connect to a RED Epic is usually enough, with most rental houses providing Lemo cables for their systems already.

I think that covers it, except for the antenna. It’s got an antenna! But why? Well, great question. Either you’ve seen FoolControl, or you’ve used it. If you’ve used it, then high five, I don’t have to sell you on it already because you’ve already cleaned yourself up from that pool of your own saliva. The Hotbox smartly has a 802.11n module built in, thus serving as a RED Link protocol compatible adapter. That’s where the control cable part of that DSMC Y-cable comes into play. This passes input/output commands from the RED Epic brain to an iOS/OSX device using FoolControl.

The HotBox, and Hotlink (which I’ll discuss in the next paragraph), works on two different systems, as an access point, or ad hoc. What this means is that you can either directly connect to the HotBox/HotLink using a OSX or iOS device (either without a password, or you can secure the network connection), and get a range of about 100’ line of sight. But where it gets cooler is the ability to create an ad hoc network. Using a web portal (after connecting directly to the HotBox/Link) you can designate a pre-existing network for the device to automatically connect to, thus extending the range significantly. What this means, in real world terms, is that I can have a 802.11n router on my cart, or anywhere on set, that ONLY serves as a wireless network. The HotBox/Link connects to that network, and then my iOS device connects to that router. So what was once 100’ range via device to device, is now conceivably 4-5x that range. And if you’re using a system like the ASUS 87R/U routers that blast enough wifi to make you sterile from the microwaves, you can practically control the camera from craft services.

So the difference between the HotLink and the HotBox has to do with the intended capabilities of each system. The HotBox is a power distribution system and wireless controller. The HotLink is a wireless controller, and nothing more. As a result it’s half the mass of the HotBox, only having 3 ports; 2-pin power in, 4-pin control out, and USB micro power in (intended for situations like drones or gimbal work). The HotLink has a captive 1/4x20 screw for attaching to cheese plates. It’s wireless operation is exactly the same as the HotBox. I have both systems, as there are jobs where you either don’t have to power as many accessories, such as in light gimbal setups, or jib/crane work where you may not be using additional monitors/cine-tapes. The HotBox usually is equipped on the majority of my setups, especially when being utilized on studio shoots. How you decide which one you’ll need depends on how often you’ve banged your head against the prep table at a rental house trying to make 4-5 devices be powered and work properly with the camera.

So that’s the hardware, now we discuss the software. Hands down Mark Pederson has created some fantastic hardware that in my eyes has fixed a big deficiency of the RED Epic. I no longer have to wiggle my fingers to try to install or remove those godforsaken mini Lemo cables. That’s great, good job. But more importantly it’s the peanut butter to FoolControl’s jelly. And what FoolControl, and Mikael Lubtchansky, have accomplished is such an added value to any AC or DP’s capability on set that it becomes staggering. FoolControl isn’t a solution for when your camera is on a tripod, it’s not going to bring you a lot of value when you can easily put your hands on the camera. What is does do is liberate you from needing to physically access the camera in situations where the very act of getting to the camera is difficult. This could be technocrane work, steadicam, gimbal, russian arm/vehicle work, remote cameras, even underwater housings. What FC does is give you the ability, in real time, to start/stop the camera, adjust settings in real time, playback clips, format mags, adjust color spaces and curves, etc etc etc. If you can access a feature via the touchscreen, you can do it on your laptop or iPhone/iPad.

So as an example, on a shoot for Alienware this past december, we had a Dragon camera, connected via FoolControl, with a 3-channel FIZ, hanging up in the air about 30’ off the ground. The camera was locked off for a visual effects shot, and the only other way up to the camera would be via a long ladder. I hate heights, so huge pass card on that option. The most critical aspect of that situation was to be able to playback previous takes for comparisons for visual effects passes. As such being able to open the iPad, select a clip, and scrub it with more realtime response than even using a RED Touch display, was fairly exciting for the directors, client, and DP. The integration between these systems doesn’t feel like an add on, or a layer on top of the camera’s UI, it feels like a 1:1 extension. Because it offers you direct access to camera settings, it means for gimbal work you could pull off an sort of RED specific camera inputs to save weight. No more RED Touch, no more LCD cable, no more Switchblade or Sidehandle. Besides power, your RED Mag, a wireless transmitter, and a follow focus, you’d be good to go, just bolt a HotLink somewhere and go. When ounces equal pounds, you’ll take any advantage you can get.

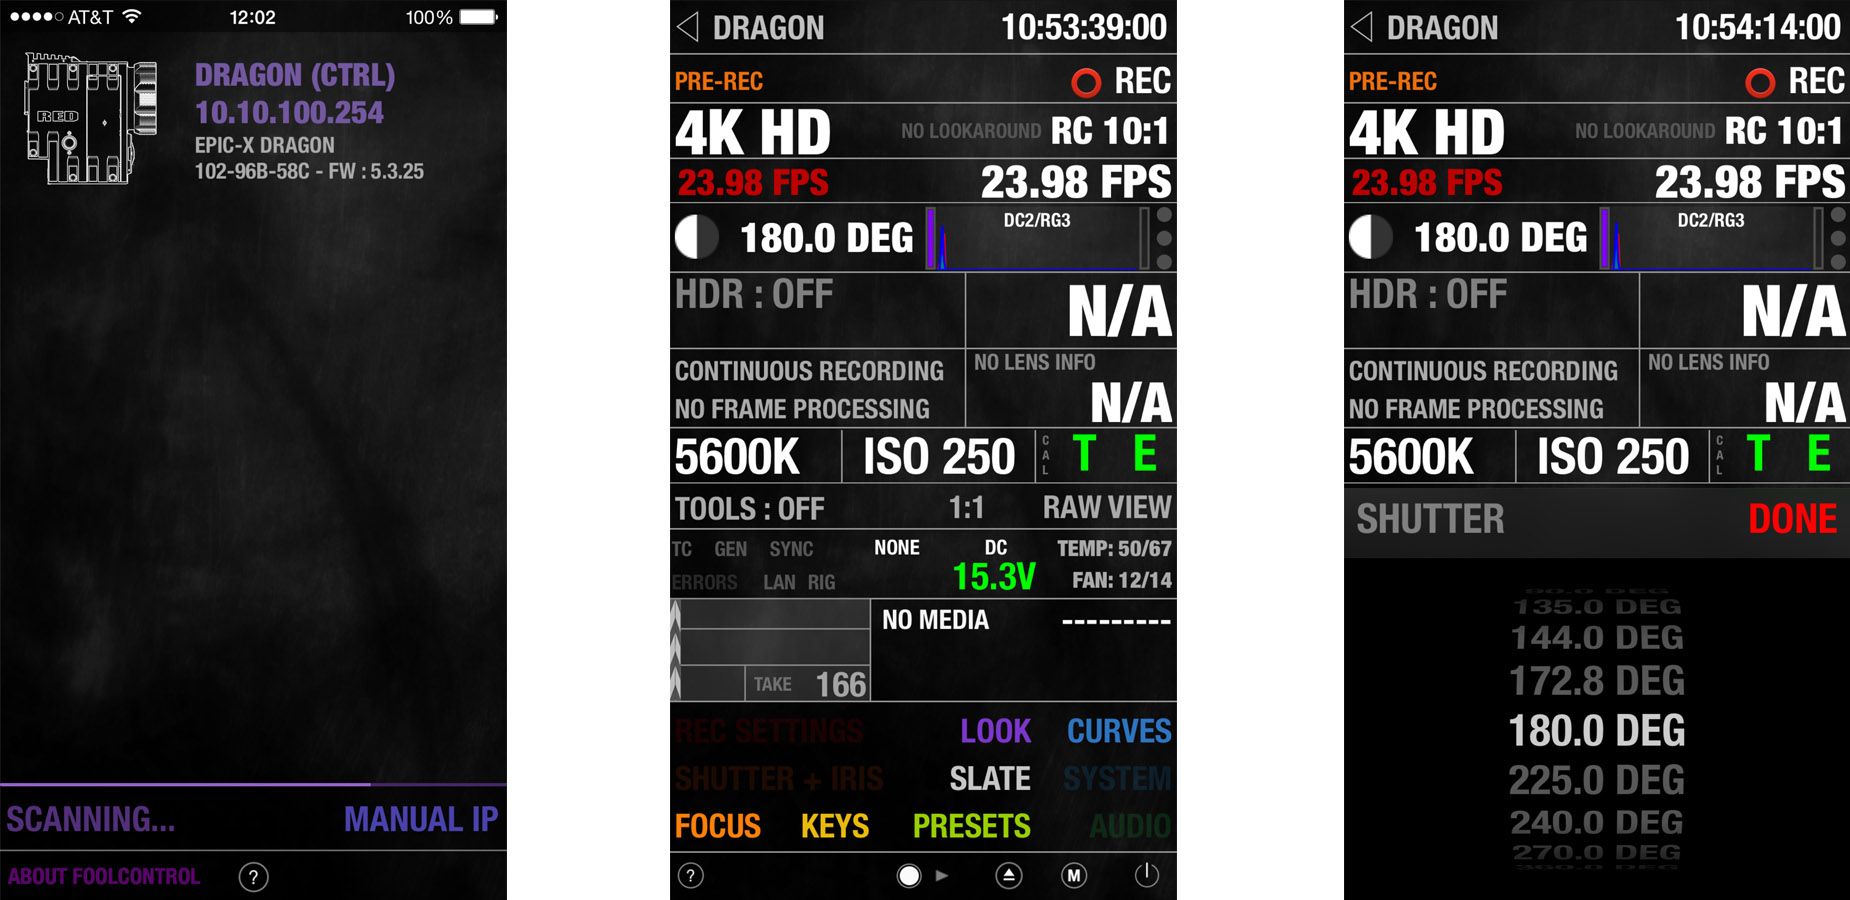
In addition to iOS controls you have the option of using FoolControl on a laptop or desktop connected via hardline or wireless (such as using a GIG-E to ethernet control). Situations where this has been done have been live event crane work, where multiple cameras can be controlled from a central location, next to a broadcast switcher. Really, if you can imagine a situation where the capability becomes useful…it probably is useful. I’d argue that the best part of FoolControl is the elegant, and rather eye-catching user interface, which is a nice upgrade from some of the rather linear (and dig down) user interface layouts of the camera itself.

FoolControl is also in its infancy, and just in the last few months has learned a lot of new tricks, such as mag formating, blackshading, fan controls, etc. And it’s on track to mature even further. The software isn’t cheap, at nearly 200 dollars for the iOS version (allowing control of multiple cameras), and double that for the OS X version (for control of multiple cameras). This is professional software geared towards specific functions, and if you see it’s value you’ll realize these prices are bargains. FoolControl has paid for itself a dozen times over, and will continue to pay for itself.

But FoolControl is nothing without an elegant hardware implementation. I don’t see the RED Link module has a viable solution, as that module is a literal dead-end, thus creating battery plate nightmares. What Mark and Mikael have done is worked in cahoots to create a solution that relies on two amazing hardware solutions, and integrates an amazing software capability, to give tangible, and easy to use, capabilities that make the AC or DP’s life easier on set. You want playback of that clip from 5 takes ago? Hold on let me open up my iPad…and there, playing back. From a rigging standpoint the HotBox allows me to integrate systems that otherwise needed work arounds, such as PCS 1 or 3-Channel Follow Focuses, or the ability to use simple and easy to use Lemo connectors. FoolControl achieves added capabilities through elegance, strongly tied in with a hardware implementation that’s low profile (HotLink). The HotBox brings all these same capabilities as well, while reducing kluge, and providing well laid out and reliable power distribution. Which device and solution is right for you depends on your working environment, however either solution is fantastic, and well worth seeing a demo of, if not placing an order for. I commend Mark and Mikael for diving in headfirst on two bootstrap products. Both of which were ambitious solutions that had to contend with a lot of variable compatibilities. It’s still a set of products being refined, but the results are more than usable, I’d argue they’re damn near invaluable.

Suggestions- If there's anything to complain about, or rather strongly suggest for improvement it would be the following:

FoolControl needs an iPad native resolution interface, to take advantage of the 8x11 interface. Spread some of the controls around and avoid using the 2x App emulation function. It's a gorgeous UI design, take advantage of the screen Realestate.

The Hotbox needs the ability to share power with the brain via some intermediary device, so that both Brain and Hotbox (and thus accessories) can be powered off an external source such as a brick battery (VCLX). Hopefully this product is coming, because right now for studio shoots the ALEXA still has a leg up in simplicity.

Corporate Revolutions by Isaac Marchionna

Following up on the earlier discussion of the BE Meyers 40th Anniversary video, this entry will be more of a technical breakdown of a key effects sequence involving a rather large machine gun, dolly, multiple passes, and a little bit of hair pulling.

7 Second Storytelling

BE Meyers not only builds their own products, but helps supply warfighters with products that enhance existing weapon systems, which then help integrate their own laser products, increasing lethality and survivability. Early on in the planning stages we paid special attention to one key product, which was a chassis system for the venerable M2 .50cal machine gun, affectionately known as ‘Ma Deuce.’ Generally in the planning phases we scale our visual storytelling to the requirements of the client, this sometimes tends to keep things conservative, especially when on a narrower budget. However when we sat down to scope what was possible for the anniversary video, and we laid all the possible product stories out, we were struck by the key visual of the M2 in all its built up glory.

Typically as someone involved in planning, production, and post-production I tend to err on the side of restraint when proposing complicated visual sequences. However putting myself in the shoes of the audience I knew that seeing something as modular as the M2, built up, in motion rather than a static build (or a CAD/CAM build), would instantly become memorable, and a wonderfully challenging visual high watermark. So rather than this being a client request we proposed a sequence starting from the pintle mount, up through the chassis, gun itself, accessories, and optics, all while the camera was rotating around it.

However the challenges were these:

  1. Budget clearly did not allow for a MoCo (Motion Control) rig.
  2. The M2 is exceedingly long. Almost 6’ in length.

The first challenge was the main issue. A motion control rig would have made this effect a snap. However given that budget was limited it meant improvising and creating a human powered motion control rig as best as possible. The other was length of the object being filmed. The M2 is almost 6’ long, which meant that lighting the machine gun would be a challenge as well as controlling focus. 

Tylor Jones prepares the camera to rotate around the M2.

Tylor Jones prepares the camera to rotate around the M2.

The solution we settled on was to utilize our Fisher 10 dolly, which would be used for the majority of the corporate location filming, on a 360 length of track. We would then push the camera around each stage of the gun, with 2-3 passes per stage to allow for coverage in case of a camera issue. We would start with the machine gun fully built up, as it would reduce the chance of the gun being bumped or changed in position as little as possible. After each pass a stage would be removed, another 2-3 revolutions filmed, remove another stage, rinse and repeat. Each pass could not be any shorter in length than the pass before it, so using a simple timer app on a phone we were cautious to count out each step, and focus on smoothness of motion, erring on the side of being too slow than too fast.

Because this would be a complicated effect for so little on screen time, it meant that we had to slot in all of our lighting and camera prep while still trying to juggle A-roll interviews. This meant that this B-roll effect was severely under the gun (pardon the pun) to get right, and get done, in a time faster than normally allowed. In addition we were also limited on track diameter, as to complete a 360-degree revolution meant using a smaller track, which limited us on lens choices. This goes back to problem number 2, which is that the object in camera was incredibly long, but would drift out of focus given available light, which limited our depth of field. Ultimately given the restriction on time, and how many lights we could use, it meant being more than a few T-Stops less than where you'd want to be given how ginormously long the M2 is in camera.

The one key thing that a lack of time didn’t allow us to accomplish was to bust out the rulers, lasers, and bubble levels, to optically true up the camera, dolly/track, and machine gun. Another deficiency was in properly leveling up the track to reduce or remove any low or high spots during the rotation. The end result is lovely looking footage, but one where the camera and gun were moving eccentrically to each other. Clearly this wouldn’t work for the final effect. See example below, particularly take note of the shake, and rises/dips in frame:

Original source footage. No stabilization.

How to solve this? Given that each pass would be give or take 55 seconds in length, with 6 individual passes, there was only one solution…basically a lot of key frames. No stabilization tool would be able to make sense out of a long object during a 360-degree rotation moving eccentrically. It essentially would have warp-stabilized the M2 into looking like a bow tie. The most direct solution would be the most time consuming, which would be to take the one constant, in the form of the pintle mount, and using that as our optically true center point. By essentially throwing a pair of vertical guides, and going through roughly 1350 key frames (per pass) the M2 would rotate smoothly during its entire turn. The same had to be done horizontally, due to the aforementioned dips in the dolly track. All in all this amounted to just a little over 8100 key frames. Due to each pass and the resulting key frames you could essentially see that the camera was making a figure 8 as it moved down and around, whereas it should have been a single point.

Each pass had to be frame stabilized to avoid the M2 dipping or shifting.

Each pass had to be frame stabilized to avoid the M2 dipping or shifting.

Once this was accomplished for each pass all 6 passes were overlaid and transition points determined. I knew I didn’t want to have jump cut transitions, but rather I wanted seamless crossfades. This meant avoiding any visual ‘tells’ such as a tension crank that may have moved during installation/removal, ammo belt shifting, etc. After these 5 transition points were determined, the entire sequence was then sped up to a crisp 7 seconds. We didn’t want to make too big a deal out of this effects sequence, enough so as to let the viewer appreciate the effect, but not do an effect for an effects sake that overstayed its welcome.

Rigging lights and gun.

Rigging lights and gun.

Because we wanted to use this sequence to illustrate all the products that BE Meyers either supplies, or creates, we then overlaid product name call outs and product numbers, all tracked to the camera, so that 3D type would follow each component.

3D Product Names and Part Numbers overlaid.

3D Product Names and Part Numbers overlaid.

Overall I’m incredibly happy with the end result, especially given the time and technical limitations. It was also a firm reminder that even 15-30 minutes during production to measure twice, and cut once can alleviate postproduction time by a factor of 10-20x. Ultimately what we set out to do was to create an effect that could have been accomplished rather uninterestingly in a normally throw away line of A-roll, and some B-roll montage, but in a far more compelling visual manner. The end result was technically challenging, but something that was instantly recognizable for it’s addition to the overall piece’s production values, as well as the entire production team striving to raise the bar on what a corporate piece could be.

The Cinematic Corporate by Isaac Marchionna

BE Meyers 40th Anniversary Video

Form follows function. It’s an adage that holds true for the majority of well-designed things. Yet form is a function in and of itself, and when given equal weight to a project, there’s the opportunity to really move beyond the restrictions of what a project could otherwise become.

Combat B-Roll

In March, Shawn Nelson and I, were given the opportunity to tell the story of BE Meyers. A company whose product could best be described as that of science fiction. Lasers only visible to optics that magnify light a million times over, systems built for warriors who operate in the darkest recesses of the world, who do very bad things to very bad people. This is a company that brings high technology, to low-tech situations, and has been doing so for 40 years. Like many in the defense industry it’s all too easy for companies like these to see video as a burden, something that must be done because of the complexity of explaining their story and products. The end result often ends up as one of frustration for the stakeholder’s, and not an experience of storytelling they jump into with excitement. It becomes easy to end up with something that lacks emotion, scope, and quality of execution. Regardless of what industry it’s for, corporate work has a tendency to be all about function, telling the facts, without being an entertaining story that stands on its own.

BE Meyers IZLID Ultra(s)

BE Meyers IZLID Ultra(s)

We were pleased to hear from the outset that our client wanted to avoid these pitfalls, which put us in violent agreement with them, as we wanted to focus on telling a compelling story with equal parts visual execution. The biggest step in this process was to contextualize what the products do, and how to show them in a manner that was as highly cinematic. This execution was informed by working with the client to really flesh out the scenarios that best exemplified each product, and would serve as b-roll that in and of itself could be described as mini-movies. Normally b-roll is a functionary product that works for cutaways, often times becoming visual filler, whereas here we wanted to really give it as much weight as the a-roll it was supporting.

JTAC Mountain Storyboards

JTAC Mountain Storyboards

BE Meyers // Look Book

We found that using ‘look books’ and cinematic references helped to both establish the look and feel, but also create and elevate the bar that we wanted to achieve visually. A big part of this was long exposure wartime photography, and low-light cinematic sequences from films like “Lone Survivor.” We also storyboarded extensively sequences where we would not have the chance to really rehearse, or where components would be in flux (such as how many people there would on screen, or what vehicles would be available to film). This allowed us to have a clear idea of the angles we would need regardless of the changing circumstances, rather than getting distracted by what differences we would have to deal with at production. More importantly these storyboards and cinematic touch points would enable us to help bridge between what the client needed, and what we wanted to execute. This clear line of communication would pay for itself a thousand times over once we attempted the cinematic b-roll, which comprised half the entire production.

Shawn Nelson providing input on framing.

Shawn Nelson providing input on framing.

Logistical Warfare

The entire project filmed over the course of 4 days. With 2 days in the BE Meyers HQ, and 2 days offsite in the wilderness. This presented an extremely aggressive schedule, which required a lot of moving pieces with a lot of safety nets in regards to execution. Days 1 and 2 were treated very much like a corporate piece, but shot in a way more reminiscent of indie film production. This meant an extremely efficient and small crew, in an extremely mobile package. For almost all of these two days the camera moved around on a JL Fisher 10 Dolly, which allowed us to quickly re-evaluate framing, but introduce motion into our shots that would have otherwise required more time to bounce between tripod and slider/dolly. This one tool both presented a fantastic platform to improvise without penalizing the director of photography and the director on their creative decisions, and it also served as a psychological boost for the employees and key executives at the company. Specifically it lent an air of Hollywood, and helped to reinforce their decision that just because this was a corporate story it could also be given the reverence and scale of a commercial/small film.

In addition the dolly also allowed us to create a couple of key signature on-camera effects that would otherwise be too complicated to achieve otherwise, or would have to be handled via computer animation. Specifically we wanted to quickly and visually tell the story of a modular chassis system that works with the Browning M2 .50 caliber machine gun. This system enhances an already formidable weapon, and allows for the integration of laser and optics systems that BE Meyers either creates, or provides. To visually tell show each component we envisioned a 360-degree circular dolly shot showing the system building up, from the gun mount, to the chassis, to the gun, lasers, and finally optics. We also wanted to avoid doing this in computer animation, while that can afford more control over focus, angles, and lighting, also looks tends to look cheap, as there’s an authenticity present in having really filmed it on set. There’s a production value just in knowing that was really on camera, flaws and all. This was ambitious given the amount of time to set up this practical effect, but the end results are extremely unmistakable and extremely memorable. This was an effect that could have occupied an entire day of filming, but one that we were able to accomplish in mere hours. I will be covering the effects breakdown for this shot in a future blog post…

Casey Schmidt doing last minute lighting changes.

Casey Schmidt doing last minute lighting changes.

Days 3 and 4 were however a bigger challenge, and not one affected by amount of content, but by location and the logistics of herding cats. These days would serve are our military b-roll, and to accomplish this we adopted a very documentarian mindset. We were able to loosely script certain scenarios, but available vehicles, personnel, and geography would determine how they played out. Because of filming restrictions, such amount of vehicles just to haul personnel out to location, it meant that we worked with available light, and as minimal of rigging as possible. What was a single camera shoot for the past two days in a factory was now a three-camera shoot out in the field. Three RED Epic-MXs, and an entire series of ARRI/ZEISS Ultra Primes, being operated by Shawn Nelson (Director), Domenic Barbero (DP), and I (Isaac Marchionna / Co-Director). The working style was simple, huddle, establish a scenario informed by our storyboards, and then quickly figure out how best to maximize how we would create coverage.

But more than that our goal wasn’t to just provide angles, but to work from the mindset of “how would we shoot this if it were an action movie?” What are the angles we’d grab if we could spend hours lighting or rigging this shot? And once we did, how could we obtain a result that best approached that ideal execution in that narrow slice of time. Having multiple camera operators, variety of lens choices, and subjects (military members) trained to execute orders with impeccable accuracy all added up to give us everything we strived for on that day.

RED Epic MX(s) with ARRI/ZEISS Ultra Primes

RED Epic MX(s) with ARRI/ZEISS Ultra Primes

Day 4 was going to be a challenge not because of subject matter, but because of the logistics of where we wanted to shoot and the problem of moving people and gear into a spot just to begin working. Day 3 took place about 90 minutes south of Redmond, WA, all on paved roads. Whereas Day 4 would be about 3 hours east and located on the side of a mountain, accessible only by off-road vehicles.

To compound the issue 90 percent of the required footage would be filmed from dusk until dark, which meant that daylight was precious for establishing a basecamp, ridding ATVs up the side of a mountain to scout our locations and create a shooting schedule, head back down, and haul multiple trips worth of gear up a rather steep mountain face, all the while chasing the light knowing we wouldn’t get another chance. Once again having a crew that was incredibly nimble made all the difference. Each shot had one major attempt, either we got it, or that shot was lost. Despite the hardship of hauling camera gear up narrow paths, frigid cold winds, the threat of rattlesnakes (of which we saw more than a few), we accomplished every single shot we sought to capture.

Dusk Filming

Dusk Filming

We couldn’t have done this without a great crew. But more than that we couldn’t have done it without a client who enabled us to do the kind of storytelling we thought the project deserved. Our client believed in the story we wanted to tell, and moved heaven and earth to provide us with the people and gear in front of the camera that created a level of production value that can’t be cheated. That level of authenticity pays for itself on screen. This was an incredibly challenging project, but an immensely rewarding one for everyone involved. Our goal was always to enable, and empower the client to create a scenario where their story could be told passionately. And in doing so lay the groundwork for vindicating video as a powerful tool that cinematically tells the story of their family-owned company, what they’ve done, what they do, and for what the future holds. The end result is that we were able to bring together multiple stories, multiple parts of a company, into one exciting and informative cinematic experience. And in doing so work to transcend beyond what could have otherwise been a purely functional corporate piece.